The self-clean button promises a spotless oven with zero scrubbing, and most of the time it delivers. But ask any appliance technician about the week before Thanksgiving and you'll hear the same story: a wave of dead ovens, doors locked shut, and blank displays — nearly all of them in the days right after a self-clean cycle.
This guide explains what the cycle actually does inside your oven, where the real risks are, when it's reasonable to use, and a manual cleaning method that gets the same result with none of the heat stress.
What the self-clean cycle actually does
A true self-clean (pyrolytic) cycle locks the door and drives the oven to roughly 850–900°F — several hundred degrees beyond any cooking mode — and holds it there for two to four hours. At that temperature, grease and spills don't dissolve; they incinerate into a pale ash you wipe out afterward. The door lock isn't a convenience feature: nothing about the cavity is safe to touch mid-cycle, so the latch stays engaged until everything cools back down.
Some newer ranges offer a steam-clean mode instead: a little water in the base, moderate heat, twenty to forty minutes. It only handles light, fresh soil, but it applies none of the extreme heat responsible for the failures below.
The real risks, ranked by how often we see them
Thermal fuses and control boards cooked by their own oven
The parts most likely to die during a self-clean aren't inside the cavity — they sit above and behind it. The control board and its wiring live surprisingly close to the oven box, and a multi-hour soak at 900°F pushes them past their design margins, especially when cooling fans are tired or vents are clogged with dust. The classic aftermath: the cycle ends, the display goes dark, or the oven refuses to heat the next day because a thermal fuse did its job and cut power. That fuse protected you and the appliance — but it doesn't reset itself. For a sense of what the electronics side of this looks like, here's a control board replacement on a Fulgor range in Nocatee.
Door locks that stay locked
The motorized latch engages when the cycle starts and releases once the cavity cools. Heat-warped linkage, a worn latch motor, or a control glitch can leave the door sealed long after the oven is cold. Forcing it bends the mechanism and turns a small repair into a larger one — if the door hasn't released hours later, it needs service, not leverage.
Smoke and fumes
Everything baked onto the oven walls becomes smoke during the burn-off. A heavily soiled oven can produce enough to fill a kitchen, and the fumes are genuinely dangerous to pet birds, whose respiratory systems are fragile. Run the range hood, crack a window, keep birds well away from the kitchen — and never run the cycle after using a chemical oven cleaner, because leftover residue at those temperatures produces far harsher fumes than smoke alone.
Fire risk from heavy buildup
Here's the paradox of self-clean: the dirtier the oven, the riskier the cycle. Thick grease deposits can ignite at pyrolytic temperatures. Pooled fat, large spills, and forgotten foil should come out by hand before the cycle starts — and an oven that's years overdue for cleaning is a candidate for the manual method below, not the button.
When it's reasonable to run the cycle
- The oven is only lightly soiled, and self-clean is maintenance rather than a rescue mission.
- Racks, foil, probes, and anything stored in the drawer are removed first — most racks aren't rated for the cycle and will discolor and stop gliding.
- Someone is home for the entire cycle, with the hood running and a window open.
- The door gasket is intact; a damaged gasket leaks extreme heat toward the surrounding cabinetry.
- You have a time buffer. Never run a self-clean the week before you host a holiday dinner — if the oven is going to fail, this is exactly when.
The safer manual method, step by step
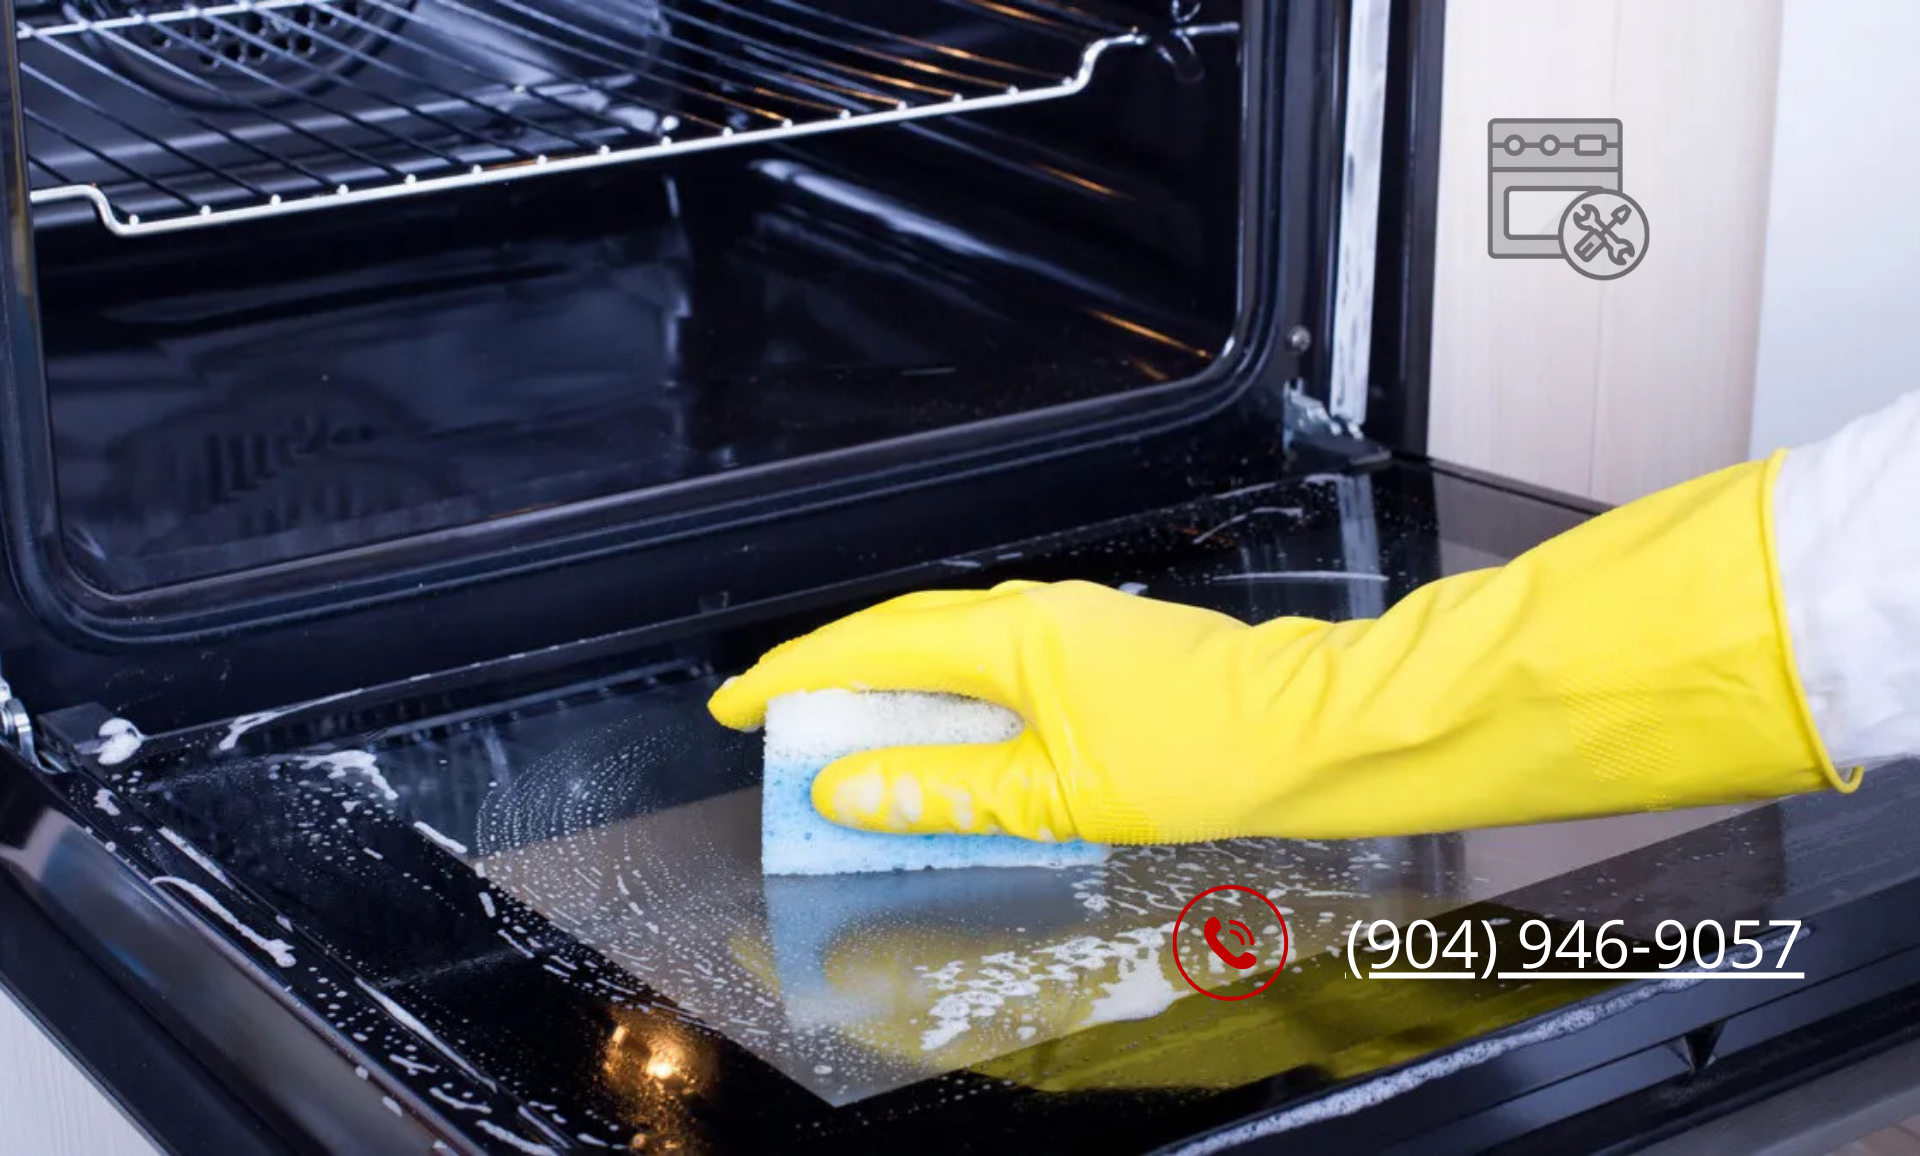
Baking soda, white vinegar, and patience will clean everything short of carbonized neglect, with no fumes and no heat stress on the electronics. In a Florida kitchen there's an extra argument for it: humid air makes grease turn gummy and cling harder, so a paste that sits overnight outperforms a quick scrub. Plan this as an evening project.
- Let the oven cool completely, then cut power — unplug it, or flip the breaker on a hardwired range. On a gas model, confirm the burners and igniters are off before you start.
- Pull the racks and soak them in the sink or tub with warm water and dish soap.
- Stir baking soda into just enough water to make a spreadable paste, about as thick as toothpaste.
- Coat the interior, working around — never over — the heating elements and the thin temperature-sensor probe on the back wall.
- Let it sit at least four hours; overnight is better for brown, baked-on layers.
- Spray white vinegar over the dried paste, let it fizz, then wipe clean with a damp cloth, rinsing often. A silicone spatula lifts thick spots without scratching the enamel.
- Treat the inside of the door glass with the same paste, give it twenty minutes, and wipe it down.
- Leave the door open for half an hour to dry, with the exhaust fan running if the day is muggy.
Between deep cleans, two habits keep you off the scrubbing treadmill: wipe fresh spills once the oven is merely warm, and slide a sheet pan under anything likely to bubble over. Skip steel wool, metal scrapers, and harsh sprays entirely — scratched enamel collects grease and never comes fully clean again.
If the oven fails after a self-clean cycle
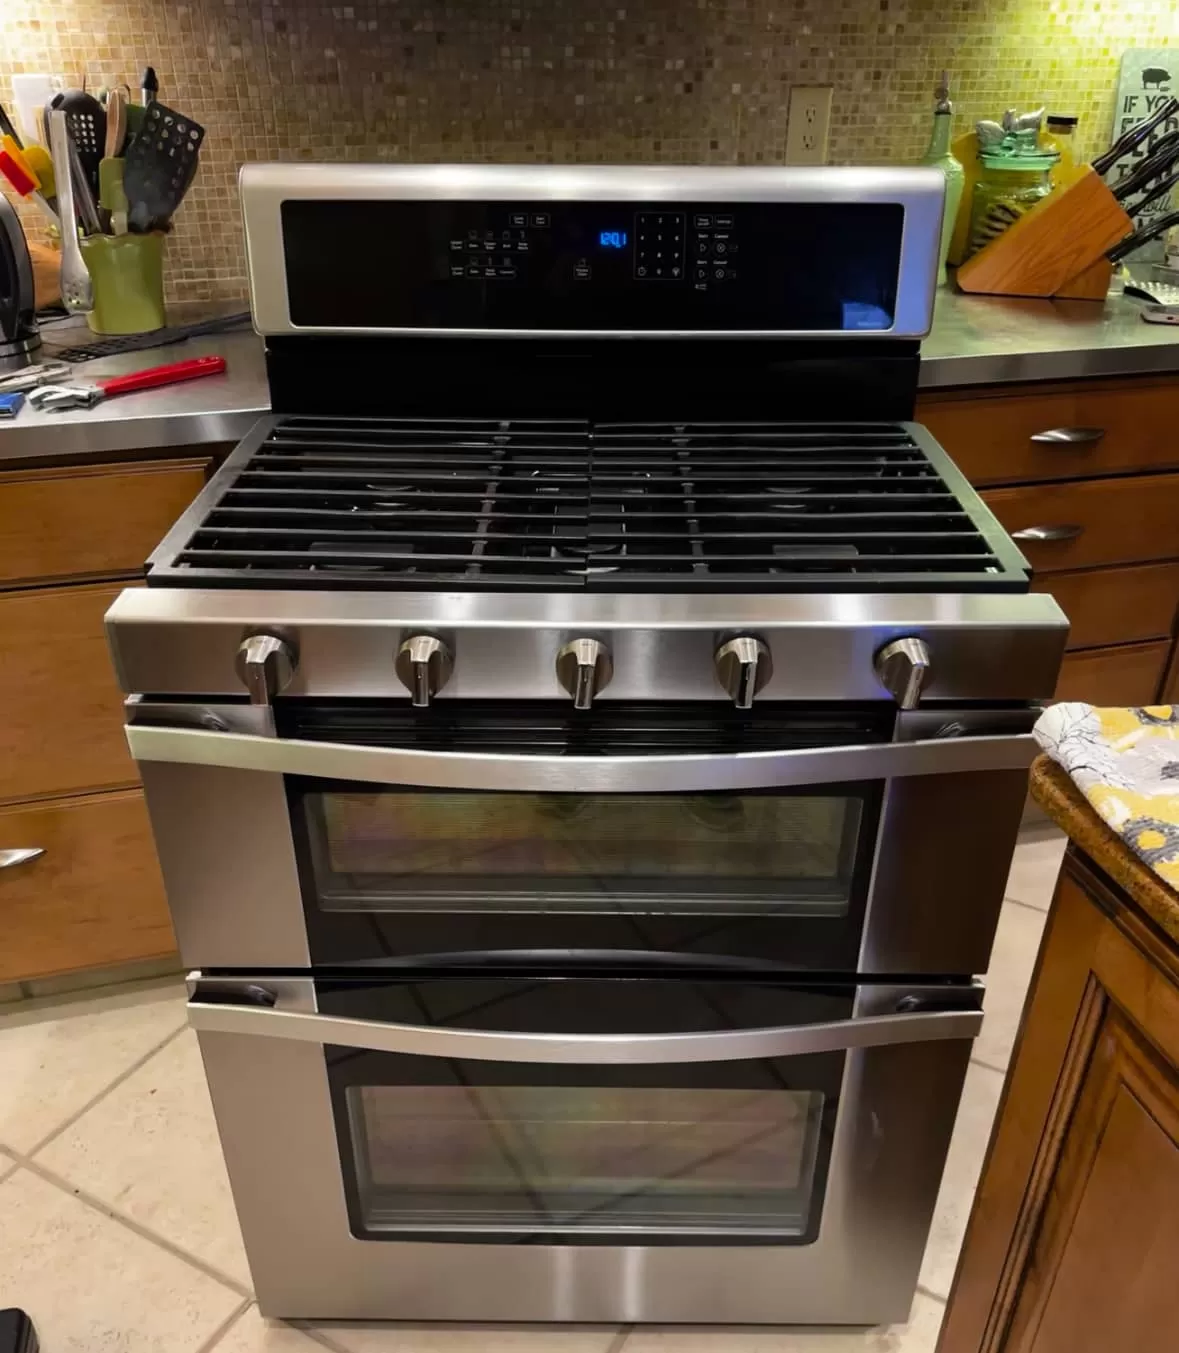
A dark display, a door that won't unlock, an oven that no longer reaches temperature, or a brand-new error code in the days after a cycle almost always traces back to a short list: thermal fuse, thermostat, door latch, or control board. On gas ranges, an igniter weakened by age sometimes gives out after the extra heat as well — that repair looks like this Whirlpool oven igniter replacement in Palm Coast. None of it is DIY territory; these components involve line voltage, gas, or programmed electronics.
This is the moment to book professional oven repair. The diagnostic is $75, and we drop it entirely once you approve the work; parts and labor are then covered for a year, and 95% of jobs are completed in a single trip, same-day when the schedule allows. We repair ovens throughout the region — appliance repair in Ponte Vedra, Nocatee, Jacksonville, St. Augustine, and down to Palm Coast. Call 904-946-9057 or book a repair visit.
FAQ
How often should I run the self-clean cycle?
Sparingly — a few times a year at most, on a lightly soiled oven. Treat it as upkeep between manual cleanings rather than the primary method, and skip it altogether if the oven is heavily coated or the door gasket looks damaged.
Why won't my oven work after self-cleaning?
Most often the high-limit thermal fuse opened during the cycle to protect the appliance, or the control board overheated. Both are repairable, and neither recovers on its own — if flipping the breaker off and on doesn't wake it, it needs a technician.
Is the smell during self-cleaning dangerous?
Some smoke and odor is normal as residue burns away, but ventilate anyway, and keep pet birds far from the kitchen — fumes that humans barely notice can be lethal to them. Heavy, worsening smoke means too much buildup; cancel the cycle and let the oven cool.
Can I use a commercial oven cleaner in a self-cleaning oven?
No. Chemical cleaners damage the pyrolytic coating, and any residue left behind turns into harsh fumes the next time the oven gets hot. Baking soda and vinegar clean the same surfaces without either problem.